Page Groups
Page Groups allow you to organize your Facebook and Instagram pages into groups. This makes it easier to manage multiple pages and use them in broadcast campaigns.
With Page Groups, you can:
- Organize pages by campaign type, client, or region
- Select multiple pages at once in broadcast campaigns
- Save time when creating campaigns for multiple pages
Create Page Group
To create a new Page Group, follow these steps:
- Navigate to Page Groups in the dashboard sidebar
- Click on the Create New Group button
- Enter a name for your group (e.g., "Marketing Pages", "Client A Pages")
- Optionally, add a description to identify the group's purpose
- Select the color and icon for visual identification
- Click Save to create the group
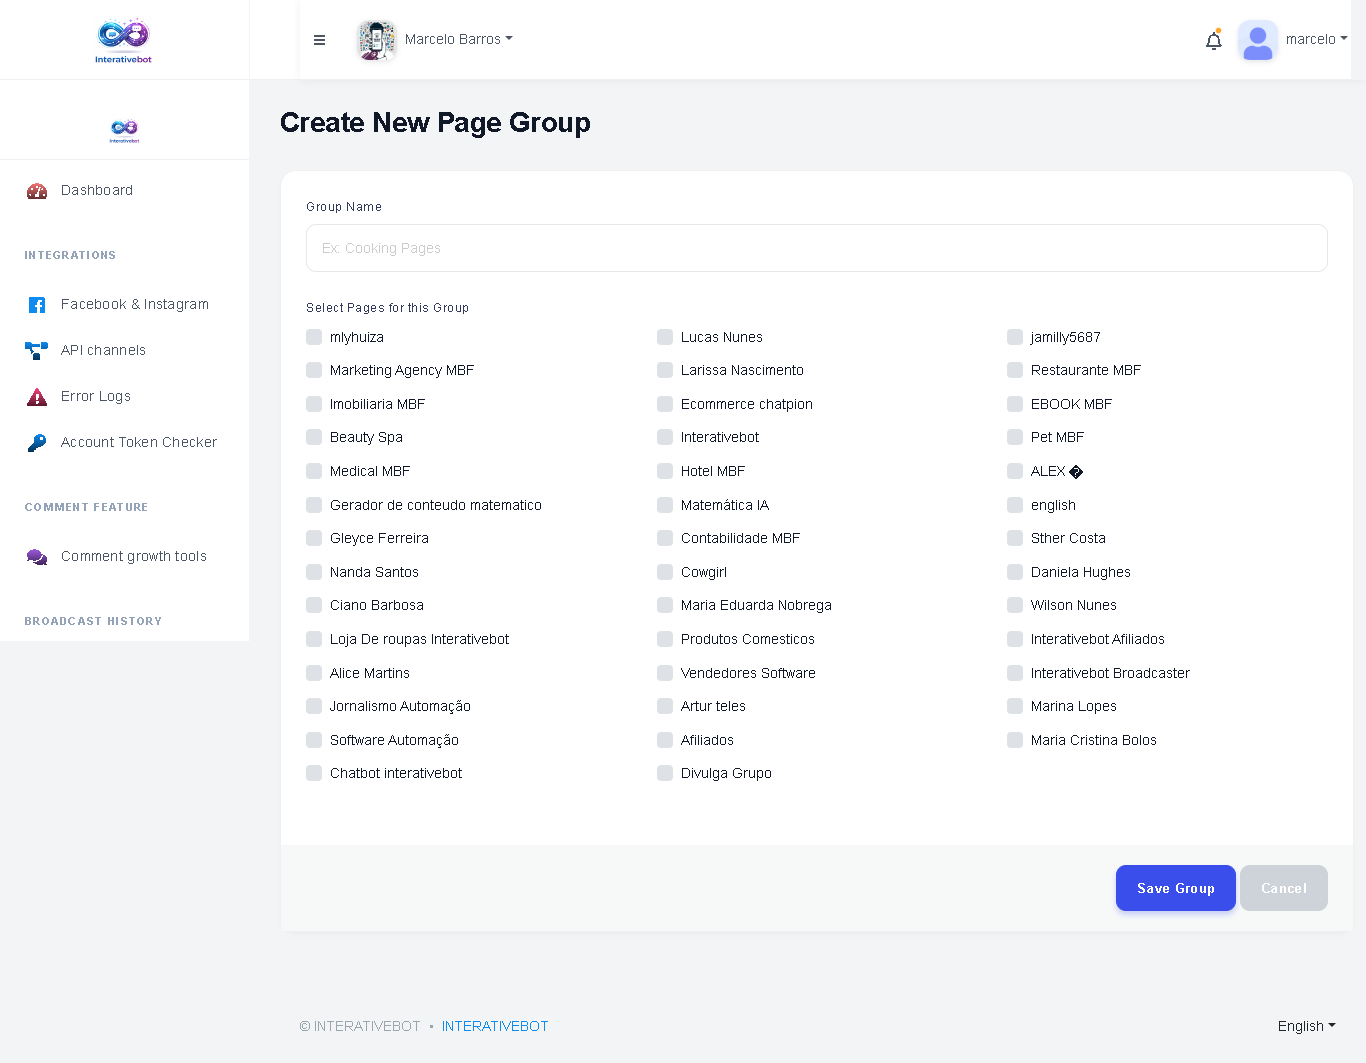
Add Pages to Group
After creating a group, you need to add pages to it:
- Click on the group you just created or click the Edit button
- You'll see a list of all your Facebook and Instagram pages
- Select the pages you want to add to the group (you can select multiple)
- Click Save Changes to save your selection
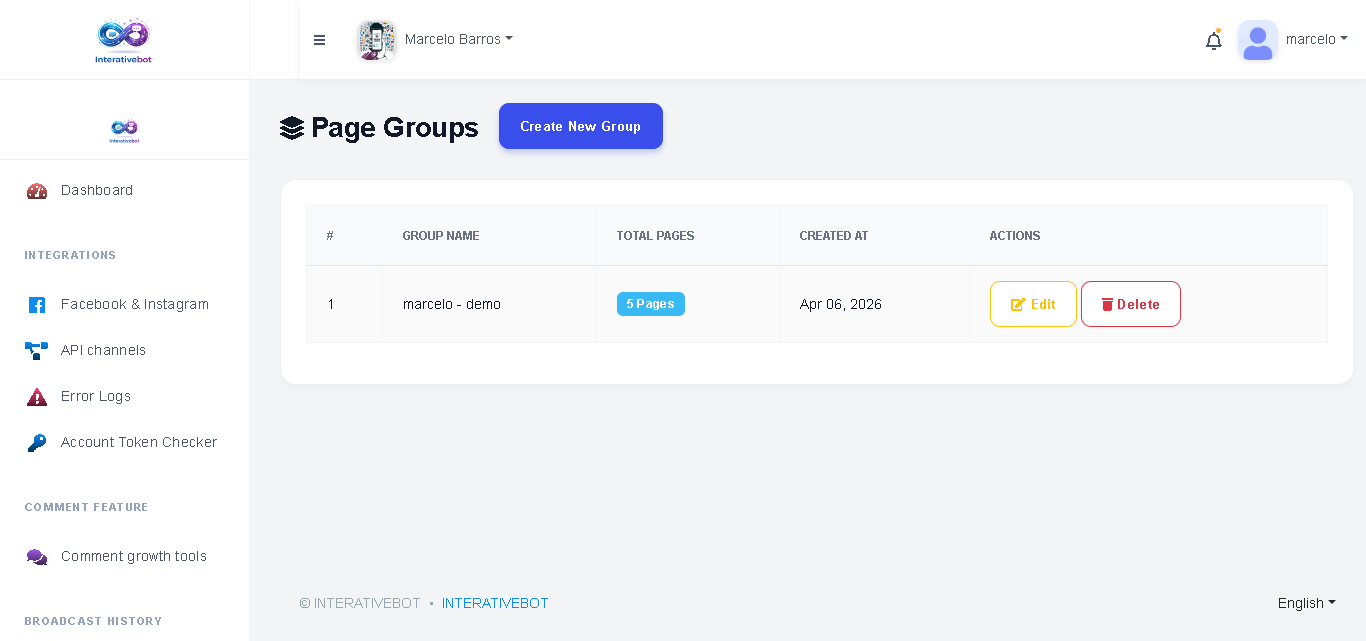
Edit Page Group
To edit a Page Group:
- Go to the Page Groups page
- Click on the Edit icon next to the group you want to modify
- You can change the group name, description, color, and icon
- You can also add or remove pages from the group
- Click Save Changes to update the group
Delete Page Group
To delete a Page Group:
- Go to the Page Groups page
- Click on the Delete icon next to the group
- Confirm the deletion in the popup message
Note: Deleting a group will not delete your pages. The pages will remain in your account.
Using Page Groups in Broadcasting
Page Groups can be used in broadcast campaigns to quickly select multiple pages:
- Create a new broadcast campaign or go to an existing campaign
- Click on Select Pages button
- In the modal that opens, you'll see your Page Groups at the top
- Click on a Page Group to select all pages in that group at once
- You can also select individual pages manually
- Click Confirm Selection to proceed
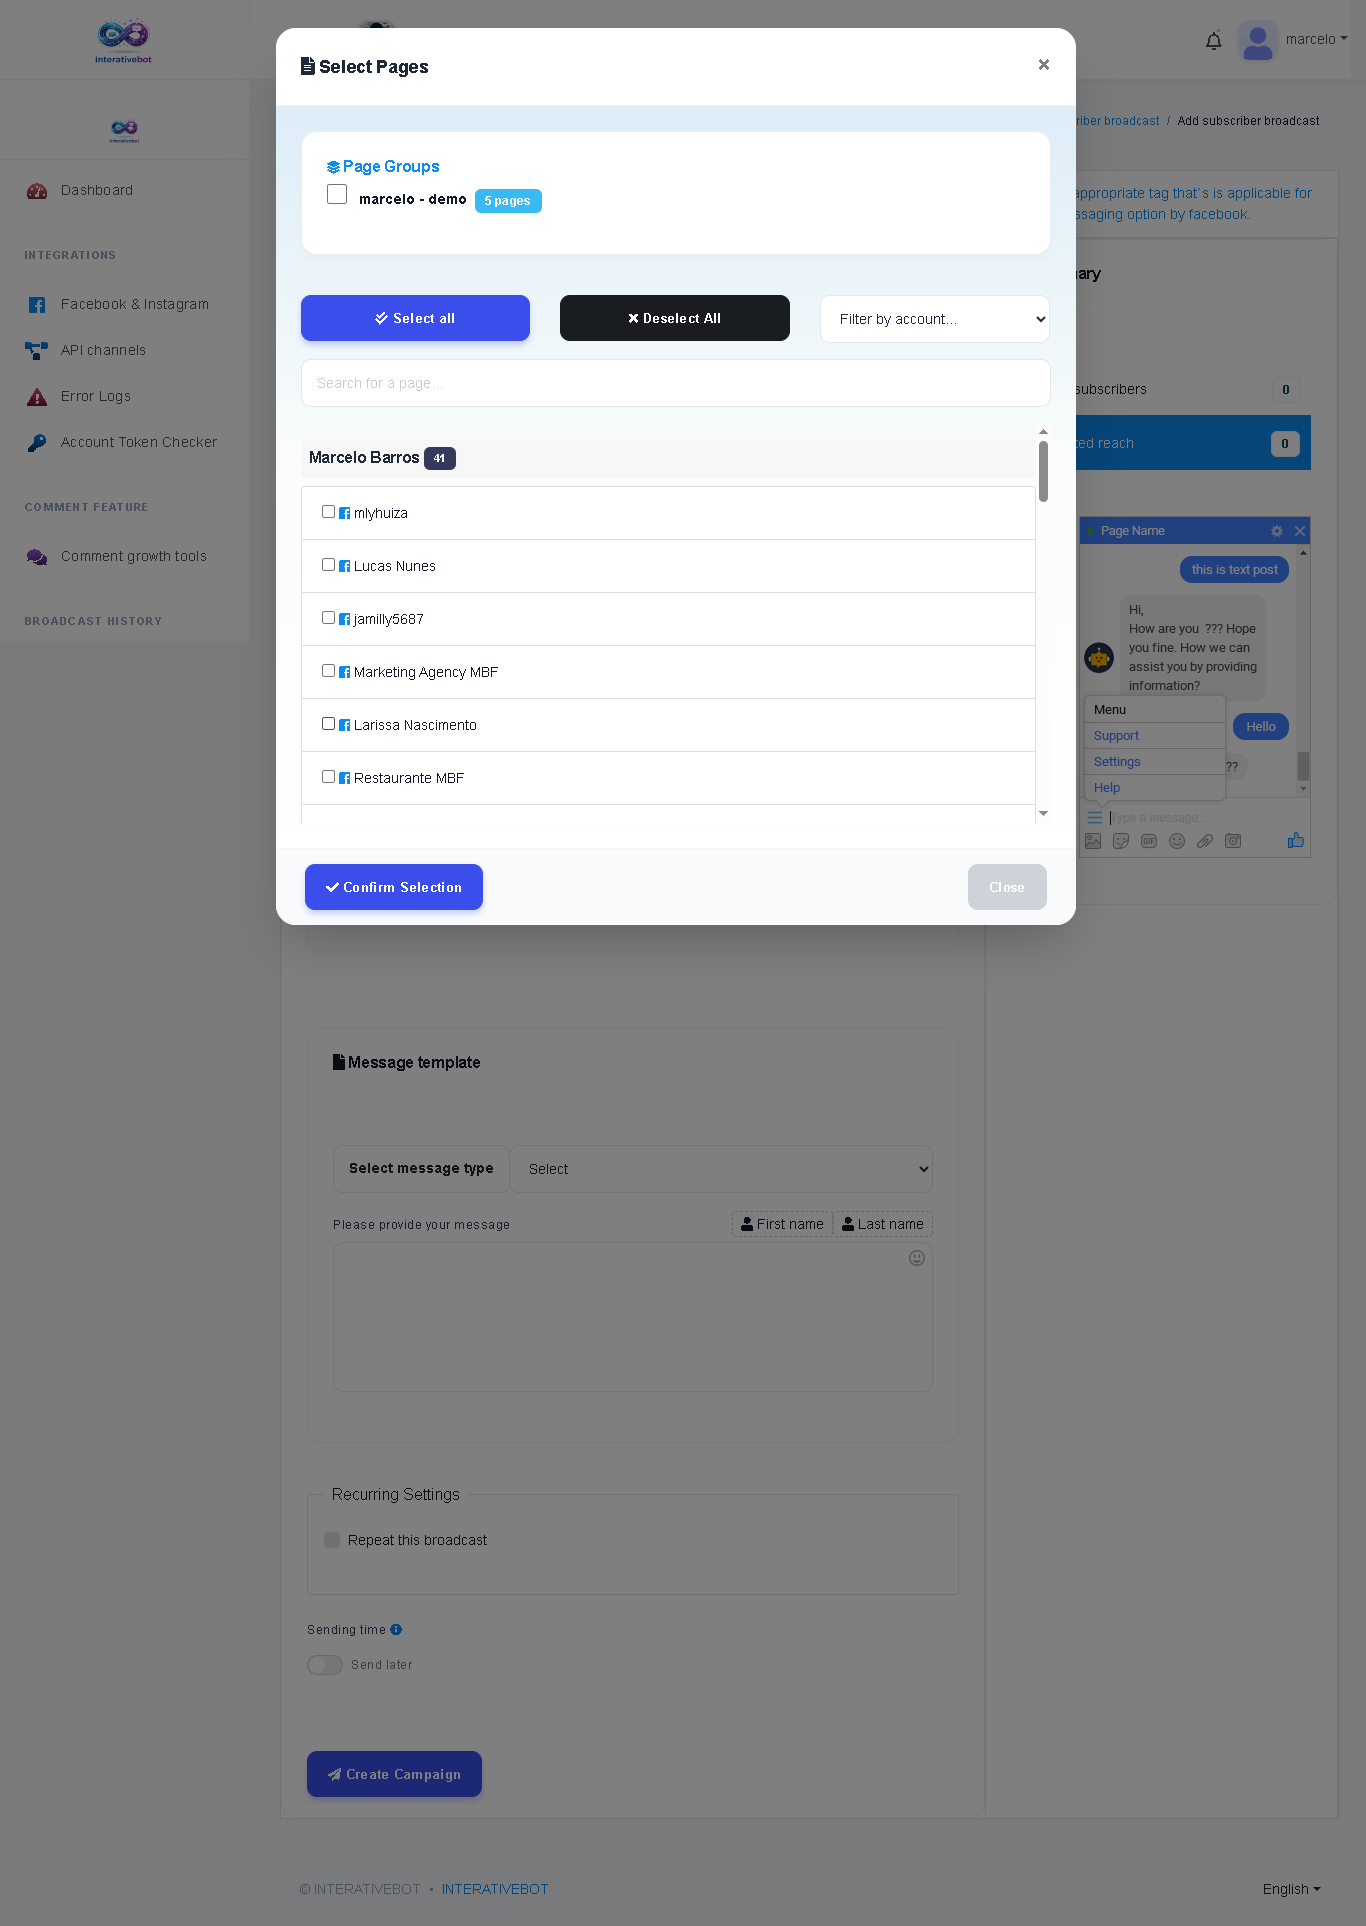
The system will automatically calculate the total number of subscribers across all selected pages.